Monday, April 30, 2012

Project 6:30 - Tuna Potato Patties


We made our first Project 6:30 dinner - that's right a dinner that takes fewer than six ingredients and less than thirty minutes to cook (see here for details).  I thought I would share the recipe with you in case you know a young person just learning to cook or even for yourself if you want to put a nutritious delicious dinner on the table with minimal effort.


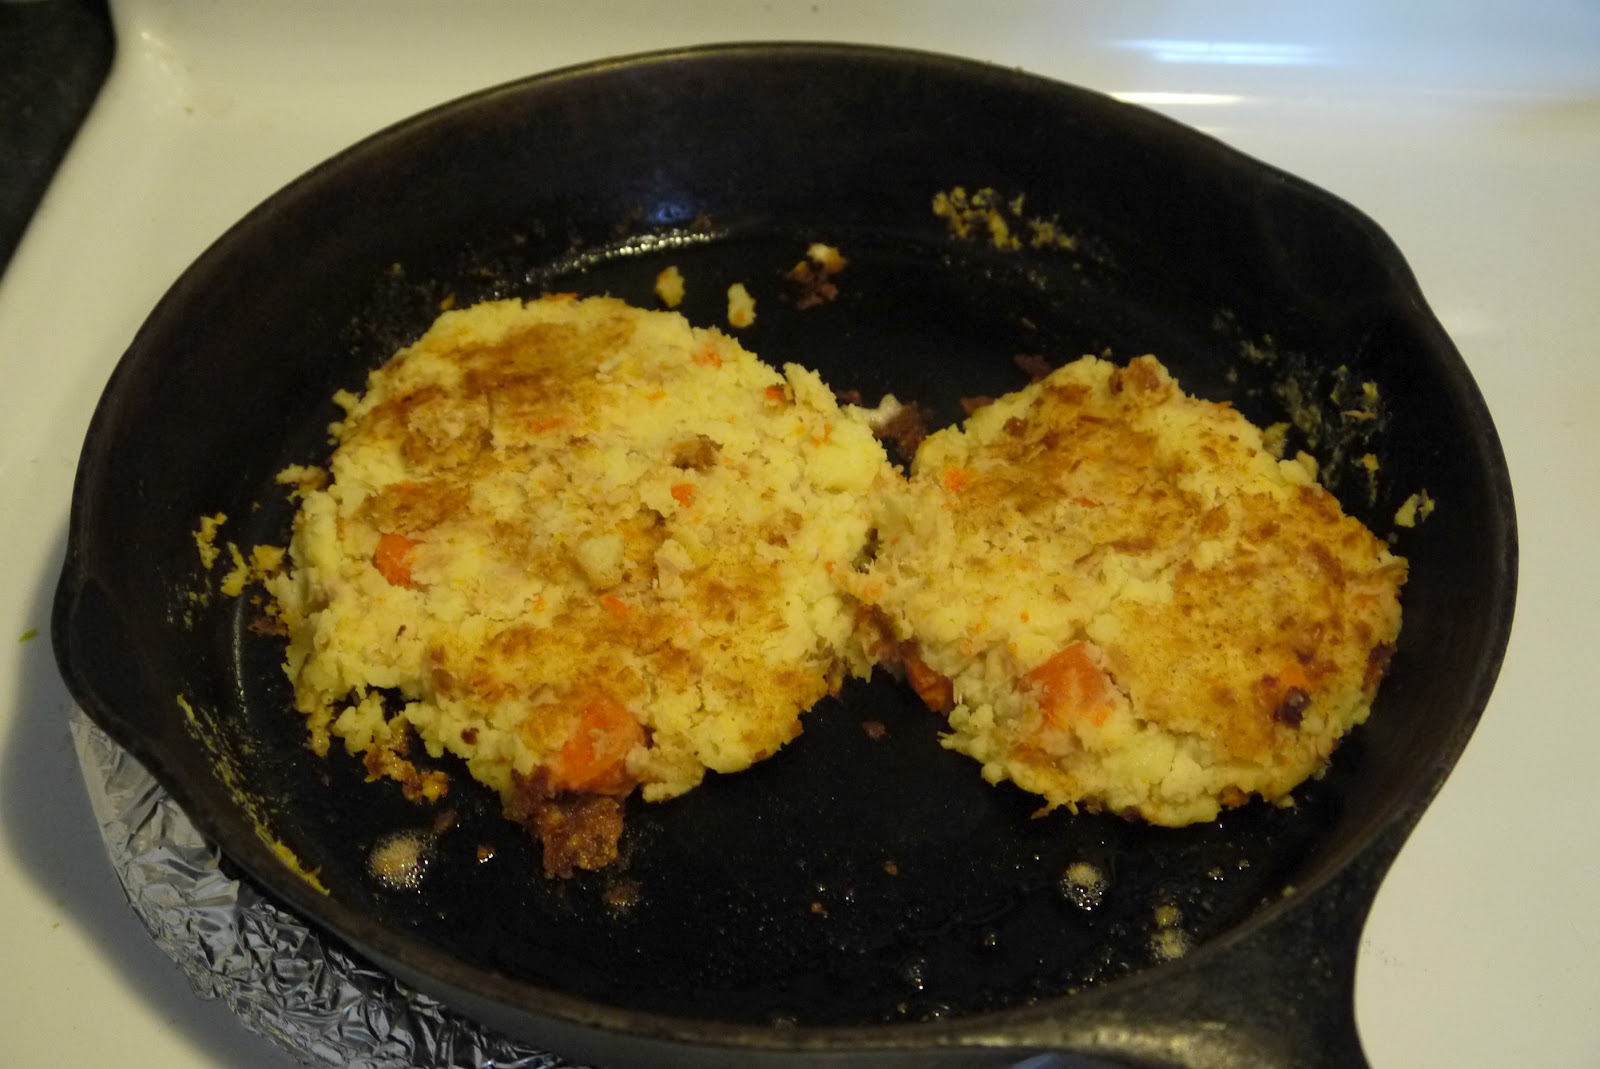
Last week Kate made Tuna Potato Patties - they were simple to make and tasted great.  It is easiest to make this dish using leftover mashed potatoes and cooked carrots so plan ahead folks and make extra the night before.


TUNA POTATO PATTIES
Ingredients:
  • 4 large potatoes, peeled, chopped, and cooked until tender
  • margarine (I don't usually measure how much I use in mashed potatoes, but about 3 tablespoons should work)
  • milk (again I don't usually measure, but about 1/2 cup of milk to start with and add more as needed to get a nice moist consistency)
  • 4 carrots, sliced and cooked until tender
  • 1 tin tuna, drained
  • 1 egg
  • whole wheat flour (about 1/2 a cup)
  • salt and pepper

Method:
1.  Mash the cooked potatoes and carrots with margarine and milk.
2.  Add the tuna and egg to the mashed potatoes and carrots.
3.  Form the mash into balls about the size of an apple and then flatten.
4.  Mix whole wheat flour and salt and pepper together.
5.  Dip the flattened patties into the flour mix.
6.  Heat oil in a frying pan and cook the patties on medium-low heat for about ten minutes or until they are cooked. 
Serve with another vegetable or a salad for a really well-rounded dinner.


If you want to see some other ideas for quick and easy dinners have a look at this post.  And feel free to link up your own quick and easy recipes for everyone to try.  After all it isn't just university students who need quick and easy dinner recipes!


***********************************

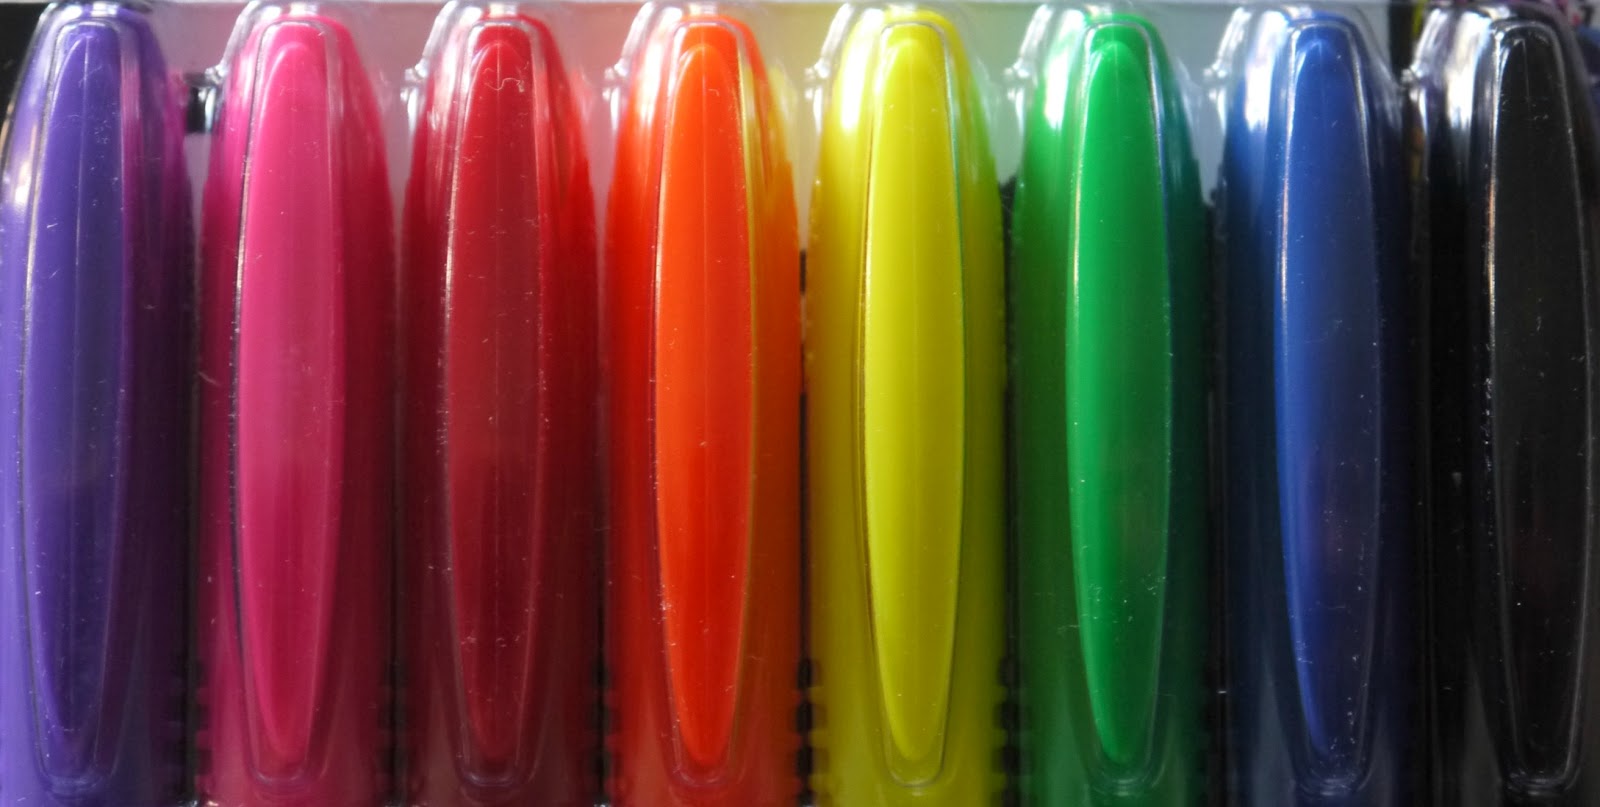
Don't forget to enter the Sharpie Fabric Pen giveaway.  With all the extra time you will have from cooking such fast dinners you will be able to whip up some crafts using fabric pens.  To enter the giveaway you must leave a comment on this post.
Pin It

Sunday, April 29, 2012

Project 6:30

Kate is home from university for the summer, which is awesome.  Next year she will be living in a house with two friends, which is also awesome.  However, she will have to cook for herself, which is not so awesome - given that Kate can't cook! We've decided that this is the summer for Kate to learn to cook.  She hasn't taken to it like her brothers have, so I'm going to make sure that over the next few months she masters making some recipes she can cook next year when she returns to university.  I've dubbed this PROJECT 6:30!  


That's right folks I'm working on getting Kate familiar with recipes that use less than six ingredients (not including salt, pepper, and oil) and that take less than thirty minutes to make.  I bet university students aren't the only ones who want some quick and easy recipes for dinner so I'm going to share the recipes here on my blog.  I actually find I use the search button on my own blog to find recipes I know I have posted. I can find them faster and easier by searching my own blog than by digging through all my recipe books.  It motivates me to post more tried-and-true recipes.

I've added a Mister Linky to this post so you too can share your favourite quick and easy recipes. I mean who doesn't need some new recipes to include in the dinner-time roster. I've added a few of my own favourites from earlier in my blogging days in case you missed them. I will likely be focusing on vegetarian recipes and ones that don't take too many tomatoes as that is what Kate prefers, but you can link up any that fit the Project 6:30 criteria (or fit it approximately anyway).


Pin It


Saturday, April 28, 2012

Sharpie My World - And Yours (A Giveaway)

I'm taking an art class right now and loving it.  It is not so much learning art techniques, although there is some of that, but it is rather inspiring us to be creative.  So often in the hustle and bustle of daily life we don't take the time to do something creative.  It is one of the reasons I love blogging and photography as they let me get the creative juices flowing; however, I also used to enjoy painting and sketching when I took art in high school, but I haven't done much of that since then.  So when my friend Jennifer started an art school I thought it would be fun to join.  Now I'm busy using my right brain every Monday night.  


I was recently asked to review the new Sharpie fabric pens, so I asked Jennifer if she wanted to include them in the art classes in some way.  What she decided was that she needed some help making art smocks for her children's and teen's classes.


Jennifer bought some purple denim work shirts at a thrift store and our project was to turn them into the smocks. Originally we thought we would bleach a circle above the pocket and use the fabric markers to decorate the bleached area.


It's funny how things turn out for the best in the end.  It's just as well that the bleach circle didn't work because we came up with a better idea.  We cut the end of the sleeves off the shirts (they would be too long for the children anyway) and used the inside of the fabric, which happened to be white.  We drew circles on the white fabric and cut those out to decorate with the Sharpie markers.  


Jennifer's art school logo is a circle with a triangle inside it, so we used that as the base for our designs and then we went wild and decorated each one differently.


Jennifer is going to use fabric glue to attach the circles along with some ribbon onto the front of the shirts just above the pockets so they look like lollipops sticking out of the pockets (something like how we placed them in the photo below).


Don't they look cute - it was a lot of fun and now there are all these circles ready to be put on art smocks.


We always work best when plied with lattes and chocolate brownies - definitely right-brain food.


Now as for the fabric pens - I haven't used any other fabric markers so I don't have a lot to compare them too, but I was pleased with how they covered the material.  The ink lasted well and made nice bright colours.  The tips were very pointed for drawing fine lines, but you could also use the sides for thicker lines.  We did find that the ink stayed wet for a few minutes after we drew with the pens so you had to be careful about smudging the work if you brushed past it and about having one colour run into another colour if they weren't dry when you drew next to it.  Once we got on to these tips we really enjoyed using the fabric pens.


Not only was I sent some Sharpie fabric markers to try, but I am also able to offer a giveaway consisting of a package of Sharpie products and a white baseball cap to unleash your creativity on.   I begged and pleaded asked nicely and the giveaway is now open to not only residents of Canada, but also the United States.  

Here's what you have to do to enter the giveaway:
  • For one entry - leave a comment letting me know you are a follower of my blog.
  • For a second entry - blog, tweet, or mention the giveaway on Facebook (and please leave a second comment to let me know).
Also please, please, please be sure and leave me your email address so I can reach you if you are the lucky winner.  This giveaway finishes at 9 pm EST on Friday, May 4th, 2012.

Pin It

Wednesday, April 25, 2012

WISH Wednesday #28


House Beautiful via decor*pad
My mind is deep into all things green this week so this pretty green bedroom jumped out at me for WISH Wednesday (Weekly Inspiration for a Seasonal Home).  There is so much to love about this bedroom.  I can't get enough of those clean bright blue and green shades together - they are perfect companions, don't you think?  And the white linens, drapes, and trim are a nice calm contrast to the intense blue and green.  There is a great mix of beautiful patterned fabrics to add lots of interest and the rustic trunk, chairs, and natural-fibre rug add the right amount of texture. The only part I'm not sure about is the black ceiling light. I know every room is supposed to have a touch of black, but this seems a bit heavy for the room and is the only bit of black visible so it draws attention to itself. Apart from that, this bedroom is gorgeous.  Wouldn't it be a lovely girl's bedroom or a pretty guest bedroom.


By the way, if you want to see why I'm deep into all things green this week, have a look here.  You will soon be wanting to grab a paintbrush and cover your walls in green and sew up some pretty green pillows - guaranteed!


And since it is the end of April, here are the April WISH Wednesday photos in a collage.  I appear to have had a thing for pretty bedrooms this month.


Monday, April 23, 2012

Decorating with Green

I always think green is such an interesting colour.  It seems to evoke different moods and feelings depending on the shade and tone used.  I don't get that reaction from other colours.  I love how fresh a spring green looks, and how calm a soft pastel green looks, and how racy an acid green looks.  Some shades I love, and some shades I find repulsive.  Am I the only one that reacts that way to green?


Greens can range from light pastel shades,


Phoebe Howard via decor*pad


to dark intense forest greens,


Martha Stewart

House to Home

to muted gray-brown greens.


My Endless Inspiration


Since green is between blue and yellow on the colour spectrum, you can find greens that range from blue-green to mid-tone green to yellow-green depending on the amount of yellow or blue present. Let's have a look at some examples of the range of greens.


You can find very pale blue-greens like sea glass green,


House Beautiful
to mid-range blue-greens like teal,


Design Crisis


Annsley Interiors via decor*pad
Drew Barrymore's office kitchen via Kitchenisms
and darker greens with hints of blue like emerald green,


Houzz via Design Chat with Kim Lemmon
to intense yellow-greens like kelly green,


and lighter greens with even more yellow like chartreuse,


Domino via Apartment Therapy
House and Home via Color Sizzle
Material Girls
Color Sizzle
and very pale yellow-greens like celadon green.


decor8
I think most people have strong opinions about whether they are blue-green lovers or yellow-green lovers.  Personally I adore blue-greens and am very picky about which yellow-greens I like.  What about you?

Have you ever noticed how many greens are named after foods.  For your viewing pleasure - and to make you hungry - I pulled together inspiration pictures for different food-based greens.


There is apple green,


House Beautiful via George Interior Design
and celery green, 


DIY Chatroom
and pear green,


decor*pad
and sage green,


Martha Stewart
and mint green,


House Beautiful

and lime green,


Home Design at Martha Stewart
and olive green,


the Lennoxx
and pea green,


House Beautiful
and yes even avocado green.


The Kitchen Vote
The flip-side of all these lovely shades of green are the repulsive and downright disgusting green associations, like hospital green and snot green and puke green.  It is interesting that there are such negative greens.  I don't think the same applies to most other colours.  Can you think of a disgusting blue?

Did you know that many early languages did not have a word that distinguished green from blue.  We seem to have made up for it with about a zillion names for the different shades of green.  

Is green a colour you like?  Do you have green in your home?  We have a very pale green on the walls in our dining room and family room (BM Tea Light mixed half strength).  It is a very easy-to-live with shade.


And if you want to see some inspiration photos for other colours, check these posts out.  You can see what colours go with red in this post here.
And check here for aqua/seafoam room inspiration photos.
And here for sunny yellow rooms.
And here for orange rooms.